The first task we were assigned to complete in Creative Media was combining two completely different images together to make a surreal animal. In doing this activity, we learnt all the basics of Photoshop. The two pictures we started off with was a little tree frogand the head+neck of a emu.

First off, I needed both the frog and the emu to look in the same direction. On the emu, Iclicked on "images", "rotation" then "Flip Canvas Horizontal".
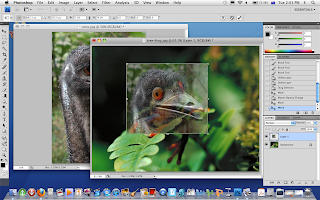
When the emu was looking the right way, the Rectangular Marquee Tool was used tochose a part of the head and was moved onto the frog.
The opacity of layer 1 (the emu's head) was reduced to about 60% so that both the emuand the frog could be seen.
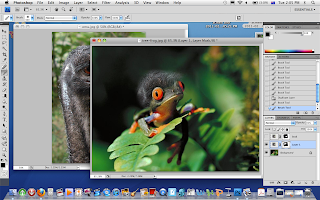
To resize the head to fit the frog, I clicked on the layer and pressed apple control + T. Littleblack spots popped up and I was able to resize it so that the overall head, especially theeyes, matched the little frog's body.

On the layer, a mask was created. The important point here is to click on the mask first,then click on the brush tool. Before erasing the background around the head, click theswitch foreground and background colours. Everything besides the head and the beak is erased and the opacity is turned back to 100%.

Then, right click on the layer 1, duplicatelayer. Layer 1 is renamed head and the layer 1 copy is renamed beak. I click the "eye"button next to head and erase all the head - not the beak.
then I click the box that had the eye next to the 'head' so the eye is back. I make the eye dissapear next to the 'beak' and erase all the beak.
 Make sure all the eyes are there for all three layers. Now, chose a layer to colorize. Go into Hue/Saturation and adjust the colour to suit the body of the frog
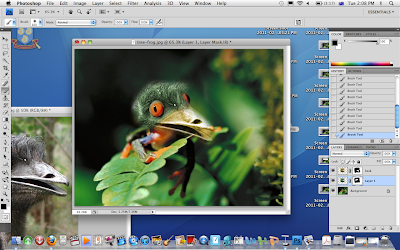
The finished Product::::
(Heh,, this one was a bit rushed.. lol)


0 comments:
Post a Comment